honeywell th4210u2002 install manual
Welcome to the installation guide for the Honeywell TH4210U2002 programmable thermostat. This device offers intuitive controls, customizable schedules, and compatibility with various HVAC systems, ensuring efficient home comfort.
1.1 Overview of the Honeywell TH4210U2002 Model
The Honeywell TH4210U2002 is a programmable thermostat designed for efficiency and ease of use. It features intuitive wake, leave, return, and sleep programming options, making it ideal for managing your home’s temperature with minimal effort. The model supports both conventional and heat pump systems, ensuring compatibility with a wide range of HVAC setups. Its sleek design and user-friendly interface simplify installation and daily operation, providing a seamless experience for homeowners seeking precise temperature control and energy savings.
1.2 Importance of Proper Installation
Proper installation of the Honeywell TH4210U2002 is crucial to ensure optimal performance, safety, and energy efficiency. Incorrect wiring or setup can lead to system malfunctions, increased energy bills, or even damage to your HVAC system. Following the installation manual carefully guarantees a seamless integration with your home’s heating and cooling setup, maximizing comfort and longevity of the thermostat.
System Requirements and Compatibility
The Honeywell TH4210U2002 is compatible with most standard HVAC systems, including 2H/1C conventional setups. It supports gas, oil, and electric systems, ensuring versatile installation across various home configurations.
2.1 Compatible HVAC Systems
The Honeywell TH4210U2002 thermostat is designed to work seamlessly with a wide range of HVAC systems, including conventional 2-heat, 2-cool setups, heat pumps, and oil or gas furnaces. Its compatibility ensures it can integrate with most standard home heating and cooling configurations, providing reliable temperature control and efficient energy use. Proper system matching is essential for optimal performance and functionality.
2.2 Necessary Tools and Materials
For a successful installation, gather essential tools and materials, including a drill, wall anchors, screws, and a level. You’ll also need a screwdriver, wire connectors, and a pencil for marking holes. Ensure all components from the thermostat package, such as the UWP and cover plate, are available. Having these items ready will streamline the process and prevent delays during setup.
Pre-Installation Steps
Before starting, ensure the power is off at the breaker box. Verify the system is cool or off. Prepare the area and safely remove the old thermostat, handling wires carefully.
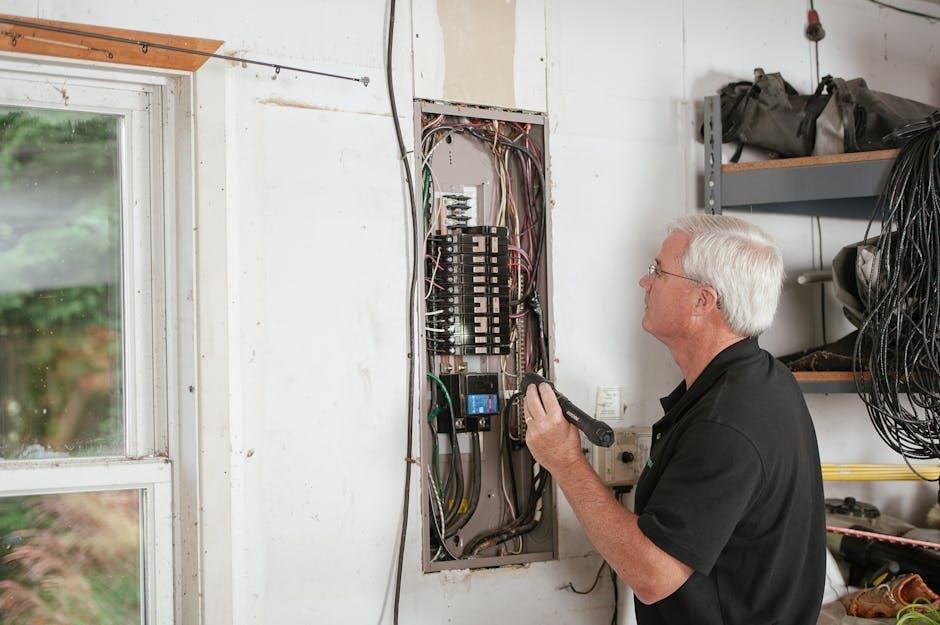
3.1 Turning Off Power at the Breaker Box
Locate and switch off the HVAC system’s circuit breaker or disconnect the power source entirely. Verify the system is off by checking for airflow or heater operation. This ensures safety during installation, preventing electrical hazards. Always confirm the power is off using a voltage tester before proceeding with any wiring tasks.
3.2 Removing the Old Thermostat
Gently pull the old thermostat faceplate away from the wall to access the wiring. Disconnect the wires from their terminals, noting their colors and positions for reference. Carefully remove any screws or clips securing the old unit to the wall. Once free, set the old thermostat aside, ensuring wires remain intact for the new installation.
Mounting the New Thermostat
Ensure the wall is level and mark hole positions for the UWP. Align the plate securely, drill holes, and fasten the thermostat base to the wall.
4.1 Preparing the Wall for Installation
Before mounting, ensure the wall area is clean and level. If replacing an old thermostat, remove any debris and check for damage. Use a stud finder to locate wall studs for secure installation. Mark the wall carefully to align the UWP (Universal Wall Plate) properly. Ensure all wires are safely pushed back into the wall to avoid interference.
4.2 Aligning and Securing the UWP (Universal Wall Plate)
Position the UWP on the wall, ensuring it is level and aligned with your marks. Drill pilot holes at the marked positions and insert wall anchors. Secure the UWP using the provided screws, tightening firmly but avoiding over-tightening. Close the UWP door to confirm it lies flush with the wall for a professional finish and proper thermostat operation.

Wiring and Connections
Proper wiring is crucial for the thermostat’s functionality. Ensure all wires are securely connected to the correct terminals, matching your HVAC system’s configuration for reliable operation.
5.1 Identifying and Connecting Wires
Start by identifying each wire using the standard HVAC color codes. Connect the R (24V) wire to the R terminal, W to W (heating), Y to Y (cooling), G to G (fan), and C to C (common). Ensure O/B wires are correctly configured for heat pumps. Securely attach wires to the thermostat’s terminals, matching your system’s requirements. Use the UWP plate for neat wire management and reliable connections.
5.2 Configuring the Wiring Setup
After connecting the wires, access the thermostat’s configuration menu to select the correct wiring setup. Choose options like “Heat/Cool” or “Heat Pump” based on your HVAC system. Enable the common wire (C) if connected. For heat pumps, set the O/B wire orientation (O or B) to match your system. Review each terminal (R, W, Y, G, C, O/B) to ensure proper configuration; Test the system to confirm heating, cooling, and fan operations are functioning correctly.

Thermostat Configuration
Configure your Honeywell TH4210U2002 by setting up the initial menu options, including temperature range, system type, and fan settings. Program daily schedules for optimal energy efficiency and comfort.
6.1 Initial Setup and Programming
Start by pressing and holding the Menu and ⎯ buttons for five seconds to access the Installer Setup Utility. Navigate through the menu to configure system type, heat/cool settings, and temperature limits. Set the time and date, then program your daily schedule by selecting wake, leave, return, and sleep periods for energy-saving operation.
6.2 Setting Up Daily Schedules
Program your daily schedule by selecting wake, leave, return, and sleep periods. Use the intuitive icons for easy setup. Set specific temperatures for each period to optimize energy usage. Ensure the schedule aligns with your lifestyle for consistent comfort and energy efficiency. Save your settings to activate the programmed schedule automatically.
Powering Up and Testing
After installation, restore power at the breaker. Test the thermostat by checking heating, cooling, and fan operations to ensure proper functionality.
7.1 Turning the Power Back On
Once all connections are secure, flip the breaker to restore power. Allow the system to initialize. Verify the thermostat display lights up and HVAC systems respond correctly.
7.2 Testing Basic Operations
After restoring power, test the thermostat by switching between heating, cooling, and fan modes. Ensure the display responds correctly and the HVAC system activates as commanded. Verify temperature adjustments and fan operation. Check for any error messages or unusual behavior. If everything functions smoothly, proceed to configure schedules and advanced settings.

Advanced Features and Customization
Explore advanced features like WiFi connectivity, smart home integration, and custom scheduling. Tailor settings to optimize energy use and comfort, enhancing your thermostat experience.
8.1 Enabling WiFi Connectivity
To enable WiFi on your Honeywell TH4210U2002, navigate to the menu and select ‘WiFi Setup.’ Choose your network from the list, enter your password, and confirm. A confirmation message will appear once connected, allowing smart features and remote control through the Honeywell Home app.
8.2 Integrating with Smart Home Systems
Integrate your Honeywell TH4210U2002 with smart home systems like Amazon Alexa or Google Home for voice control. Use the Honeywell Home app to link your thermostat to these platforms. Once connected, you can adjust settings, create routines, and receive notifications, enhancing your smart home experience with seamless temperature management.
Troubleshooting Common Issues
Address issues like unresponsive displays, incorrect temperatures, or wiring problems by checking connections, restarting the thermostat, and ensuring proper power supply. Refer to the manual for detailed solutions.
9.1 Addressing Wiring or Connection Problems
Check for loose or incorrect wire connections. Verify all wires match the labels in the manual. Ensure proper power cycling by turning off the breaker before adjustments. If issues persist, consult the troubleshooting section of the Honeywell TH4210U2002 manual for detailed solutions and wiring diagrams to resolve connectivity problems effectively.
9.2 Resolving Display or Sensing Issues
If the display is unresponsive or inaccurate, first ensure the thermostat has power. Clean the screen gently with a soft cloth to remove dirt or smudges. Check sensor alignment and placement for proper temperature reading. If issues persist, reset the thermostat by removing batteries or cycling the power at the breaker box to restore functionality.

Maintenance and Upkeep
Regular maintenance ensures optimal performance. Clean the thermostat, check battery levels, and update software when available. Schedule professional servicing to maintain efficiency and reliability over time.
10.1 Replacing Batteries
To maintain uninterrupted operation, replace batteries promptly when the low battery icon appears. Use AA alkaline batteries for optimal performance. Turn off the thermostat, slide off the battery compartment, and insert fresh batteries. Ensure correct polarity and securely close the compartment. This simple maintenance step prevents system interruptions and ensures accurate temperature control and scheduling functionality.
10.2 Cleaning the Thermostat
Regularly clean the Honeywell TH4210U2002 to ensure optimal performance. Power off the thermostat before cleaning. Gently wipe the display and exterior with a soft, dry cloth. Avoid harsh chemicals or liquids, as they may damage the screen or internal components. Clean the vents and sensors to maintain accurate temperature readings. Regular cleaning helps preserve functionality and extends the thermostat’s lifespan while keeping it looking new.
Following the Honeywell TH4210U2002 install manual ensures a seamless setup. Proper installation and maintenance guarantee optimal performance, providing consistent comfort and energy efficiency for your home.
11.1 Final Checks and Verification
After installation, verify all thermostat functions. Ensure the device powers on, displays correctly, and responds to temperature adjustments. Test heating and cooling modes, schedule settings, and WiFi connectivity if applicable. Confirm proper wire connections and battery levels. Perform a full system cycle to ensure smooth operation. Address any issues promptly for optimal performance and efficiency.
11.2 Importance of Following the Manual
Adhering to the installation manual ensures proper setup and functionality of the Honeywell TH4210U2002. Deviating from instructions may lead to system malfunctions or safety hazards. The manual provides precise steps, essential for optimizing performance and extending the thermostat’s lifespan. Always refer to the guidelines for troubleshooting and maintenance, guaranteeing efficient and reliable operation of your HVAC system.